

Selling on Fliam Last update 3 years ago
How to start selling on Fliam
Create your profile seller
- Your profile is how you present yourself to the community
- To fill out your seller profile
- Go to page https://fliam.com/ and log in to your account on Fliam
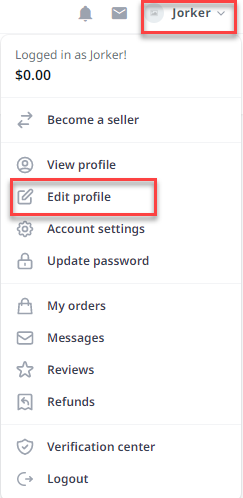
- After logging in, click on your account name and then click Edit profile
Personal info
- In the Profile Picture section, add an image of yourself
- Fill out your full name and country.

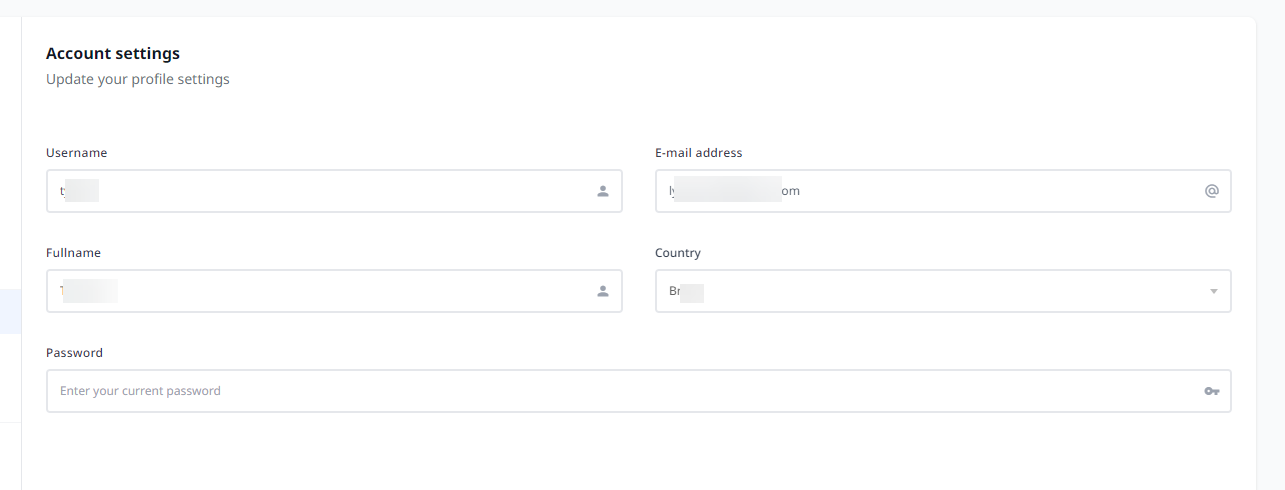
- To update full name and country, click on Account name and click on Account settings

- Fill profile information
- After filling in all the information. Click Update button to save
Availability
In the Availability section, set a time when you can receive your order
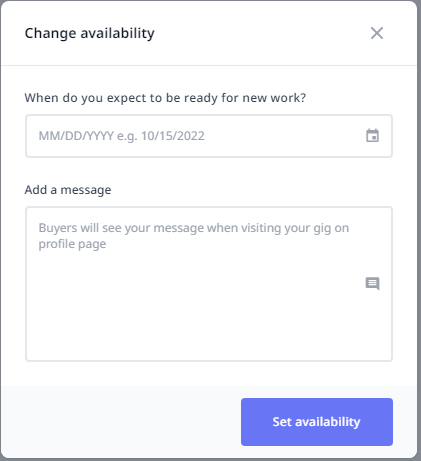
- To set it up, click Set availability

- Enter a date when you will be ready to receive new orders and messages
- After filling in all the information. Click Set availability button to save
Description
- In the Description section, introduce yourself to the Fliam community
Linked Accounts
- In the Linked Accounts section, connect your social to your account Fliam
Skills
Skills section, let your buyers know your expertise.
Languages
In the Languages section, select the languages you speak and your level of fluency.
Create your gig
- Click on Account name -> Seller dashboard

- Find and select My gigs to enter your service gig area. Here you choose Publish new gig to create a new gig

- At that time, you will be transferred to the area to set up your service gig.
- Fill in the necessary information of Gig
- In the gig setup area, you need to complete a few sections before posting the gig and wait for Fliam to confirm it. Those steps include the following:
Overview -> Pricing -> Requirements -> Gallery -> Publish
Overview
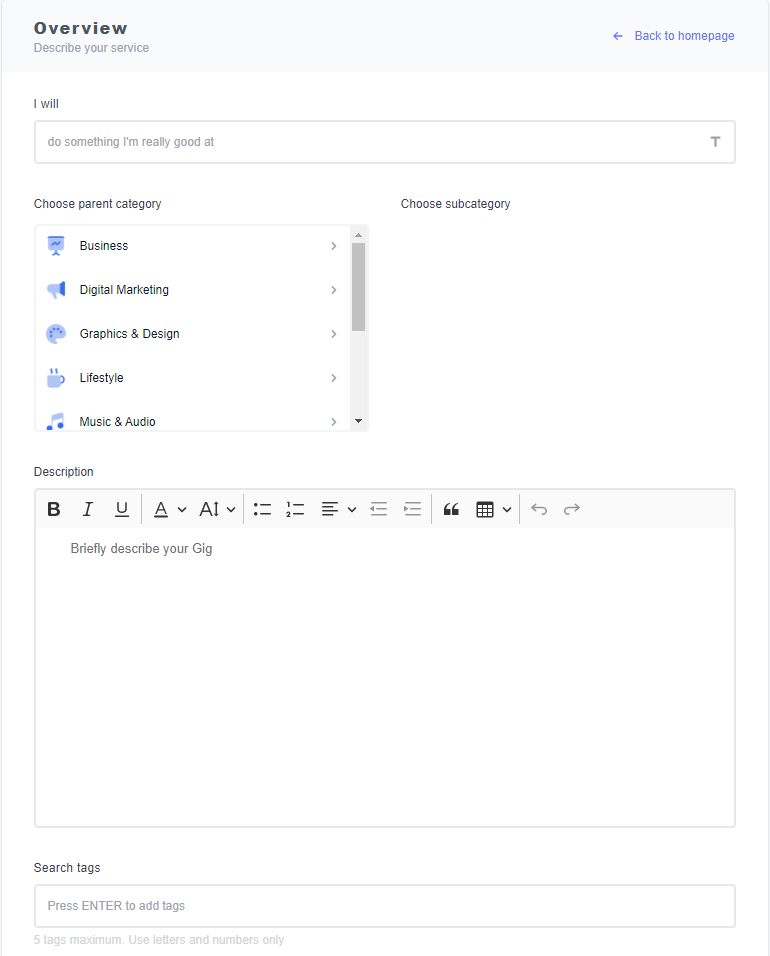
- Title: By default, Fliam will have the phrase I Will. So when youre giving a gig title, pay attention to how it fits. For example “I Will build a full ethereum forked blockchain with dex and wallet”.
- Choose parent category: You select parent category for your gig
- Choose sub category: You select sub category for your gig (sub category will appear on parent category)
- Description: You enter a description for your gig. Provide it to your customers. The most accurate information about the service that you provide to them.
- Search tags: Set up tag for your gig
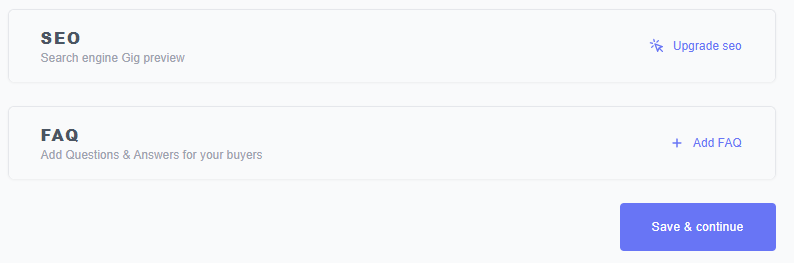
- SEO (optional): Set up SEO title and SEO description keywords for your gig
- FAQ (optional): Set up some questions and answers for your gig. This helps customers better understand what they need to do to help you fulfill their request
- After setting up all the information, you select Save & Continue to continue setting up other parts.
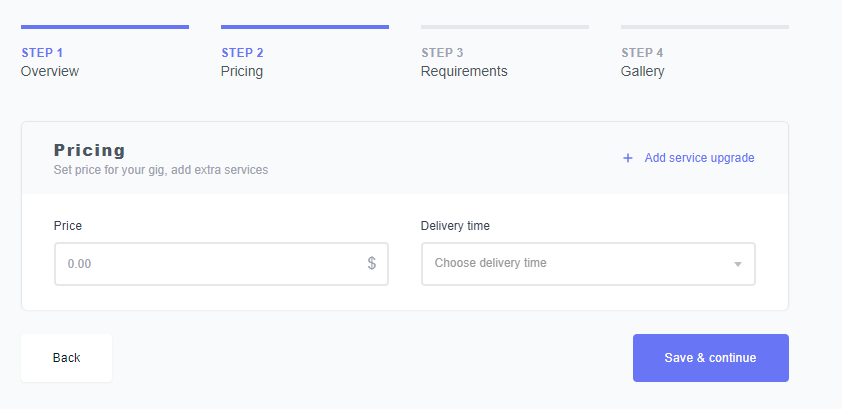
Pricing
- Price ($): Set up price for your gig.
- Delivery time: Select the number of days you will complete and deliver the product to the customer
- Add server upgrade (optional): Set up service information for your gig
- After setting up all the information, you select Save & Continue to continue setting up other parts.
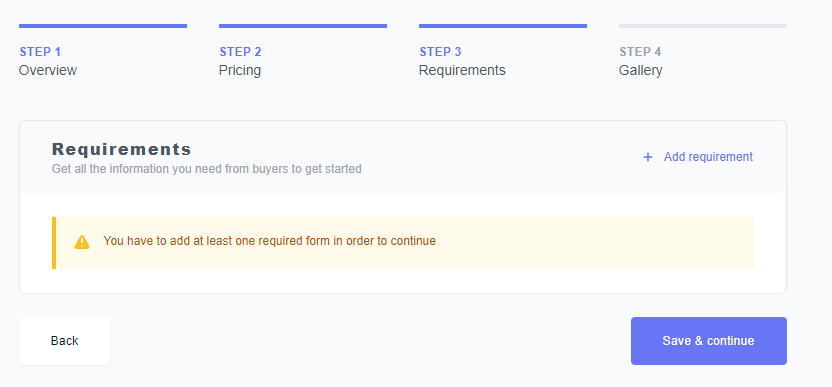
Requirements
- In this section, you can select some requirements for your gig. That is, you are asking the customer to do something like provide documentation, images or files, etc. so that you can fulfill their request.
- You can add different requirements by selecting + Add requirement. Then select Save & continue to save and move on to the next steps.
Gallery
- Upload images, documents, and videos about products for your gig
- Then you select Save & continue to save and move to the next steps

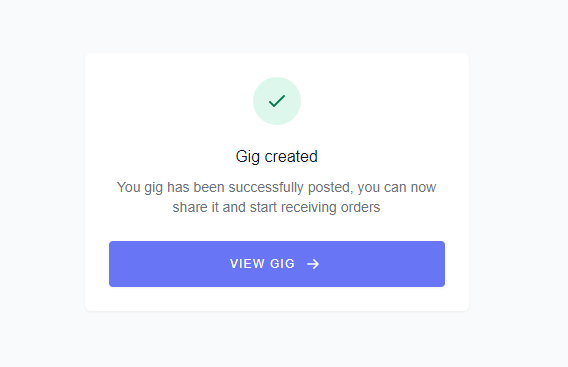
- Finally, as shown in the image below, you have successfully set up gig
- Click on the VIEW GIG button to view the gig that you have created
Waiting for confirmation
After you have completed the Gallery setup for your service gig during the gig creation process on Fliam, your gig setup is completed. Youre supposed to wait for Fliam to review, this may take a several hours or as little as 1 to 2 days